Category: Pop Culture Recipes

Pop culture-inspired desserts, snacks and drinks you need to see to believe

  • How to Make Winnie The Pooh-Inspired Cupcakes

    How to Make Winnie The Pooh-Inspired Cupcakes

    During the first few weeks of quarantine, I got really into decorating pop culture-inspired cupcakes. To the point that some of my friends probably contemplated staging an intervention, but it was my small attempt at bringing a little joy to people’s feeds—while also entertaining myself in my downtime.

    That’s why you’re suddenly seeing so many posts featuring Peppa Pig, Elmo and Cookie Monster treats. And now, Winnie the Pooh. I made the cupcake just after Easter, when I had bags of Hershey’s Eggs lying around—which formed the bear’s snout—but you could easily use peanut M&M’s, dying your frosting a bolder shade of yellow instead of the pastel I used.

    Whatever you do, if you make one of these treats, tag @lifebetweenweekends, @candacebd (or @betweenweekends on Twitter), so we can see them too. Those little moments of connection go a long way in these isolating days.

    Winnie The Pooh-Inspired Cupcakes

    So easy, kids of all ages can get in on the fun! (But first, a disclaimer: I have no affiliation with A.A. Milne or Disney; these are just a fan tribute to the classic character.)
    Course: Dessert
    Keyword: cupcakes, disney, kids, winnie the pooh
    Servings: 18 cupcakes

    Ingredients

    • yellow food coloring
    • 1 16-ounce container vanilla frosting
    • 18 baked chocolate cupcakes, cooled
    • 36 yellow Hershey's Eggs or peanut M&Ms
    • 48 brown M&M Minis
    • 1/4 cup chocolate frosting (or 1 tube black gel frosting)

    Instructions

    • Add 5-7 drops of yellow food coloring to the vanilla frosting, stirring until combined. Gradually add 2-3 drops at a time, stirring until mixed, until the frosting matches the color of the Hershey's Eggs or Peanut M&M's, depending on which one you're using. (Hershey's Eggs are more of a pastel yellow, so the frosting will need less dye to match.)
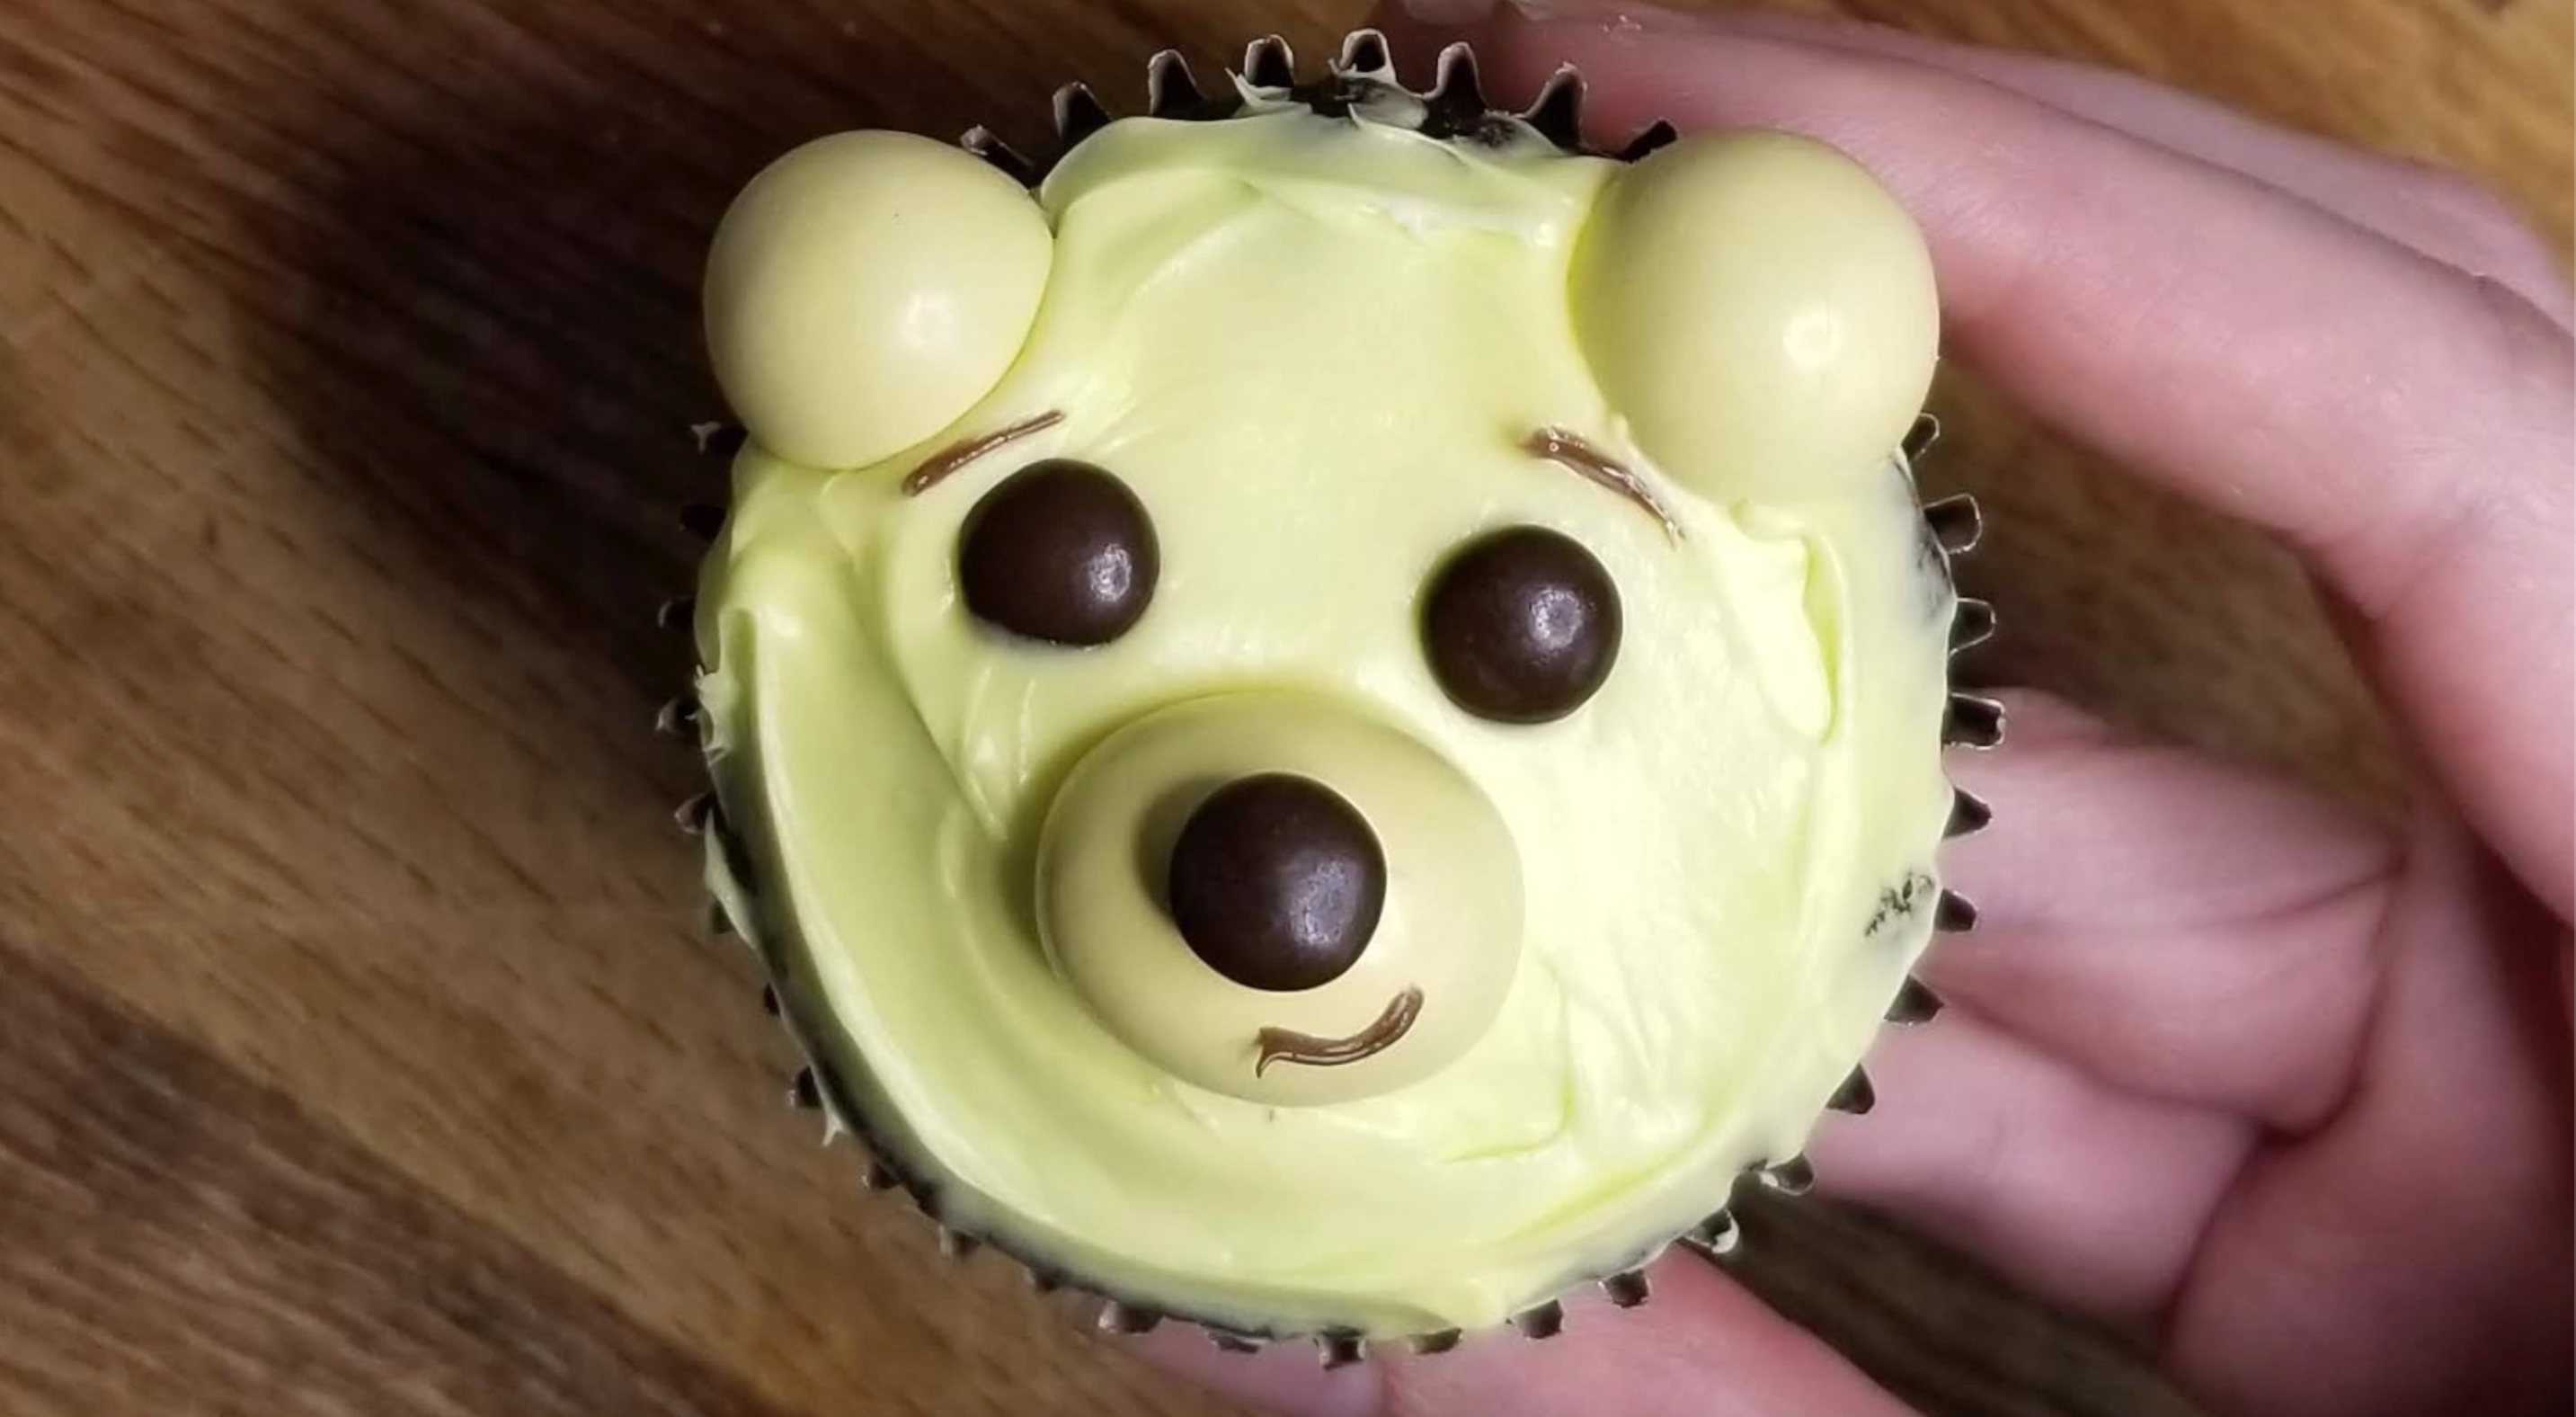
    • Cover the top of the cupcake with yellow frosting. Place one Hershey's Egg/Peanut M&M lengthwise in the lower third of the cupcake, forming the snout. Cut another one in half, placing each half cut-side down on the top edge of the cupcake, forming the ears.
    • Place two brown M&M Minis just above the snout to form the bear's eyes. Dab a tiny dot of yellow frosting on the snout, then stick a brown M&M Mini atop it, creating Pooh's nose.
    • Using a toothpick, swipe a little chocolate frosting over the eyes to form eyebrows, and another just below the nose to create Pooh's smile.
    Notes

    One medium-sized bag of Peanut M&M’s—or full-size bag of Hershey’s Eggs—should have enough yellow treats to complete this project. A medium-sized bag of M&M Mini’s should have enough brown M&M’s.
  • These Sesame Street-Inspired Cupcakes Are the Perfect Afternoon Project

    These Sesame Street-Inspired Cupcakes Are the Perfect Afternoon Project

    Keeping little kids entertained can be an exercise in endurance. Your mind’s constantly spinning, trying to come up with ways to entertain that aren’t screentime, screentime, screentime (or involve endless cleanup). These Sesame Street-inspired cupcakes are a perfect afternoon activity—or birthday surprise—to keep the kids busy. Plus, they’ll eat up some of the mess, so everybody wins! As long as they don’t color the walls in frosting or anything.

    Of course, I’m not affiliated with Sesame Street or HBO or PBS in any way; this is purely a fan tribute, using all everyday, basic items, so the average person (or kiddo) can easily DIY ’em. (That’s also why they look a lot like the Times Square knockoff version of your favorite monsters, rather than 100 percent spot-on. I tried, OK?! Hahaha.)

    How to Make Elmo-Inspired Cupcakes:

    What You’ll Need:

    • 6-8 drops red food coloring
    • 16 ounces vanilla buttercream frosting
    • 18 baked chocolate cupcakes, cooled
    • 18 orange mini M&Ms
    • Red sanding sugar
    • 36 mini marshmallows
    • Black gel frosting

    How to Decorate Them:

    Check out the video above for a quick rundown of what to do. You can use store-bought frosting or make it from scratch, but either way, I recommend dying the frosting red, even though you’re dipping it in red sanding sugar. That way you don’t wind up with white patches poking through.

    No sanding sugar? You can draw light strokes in the frosting with a fork to get a textured, furry look, just like we did with the Cookie Monster cupcakes below.

    How to Make Cookie Monster-Inspired Cupcakes:

    What You’ll Need:

    • 6-8 drops blue food coloring
    • 16 ounces vanilla buttercream frosting
    • 18 baked cupcakes, cooled
    • 18 marshmallows
    • Black gel frosting
    • 9 Oreos

    How to Decorate Them:

    Check out the video above for a quick rundown of what to do. You can make this project even easier by using candy eyes instead of a squished marshmallow, but that’s your call.

    No matter how you go about them, we hope you enjoy them!

    Psst: Noticed that rogue Peppa Pig in the photo at the top of this post? We’ve got a tutorial for those cupcakes too. Oh, and if these videos look familiar, you may have noticed I also shared the demo with PureWow.

  • How to Make a Diet Coke Cake (or Any Soda Can Cake, Really)

    How to Make a Diet Coke Cake (or Any Soda Can Cake, Really)

    I can’t be the only one who’s suddenly wanted to make a Diet Coke cake, right? Right?! Well, give me a second to explain myself.

    I can’t blame Duff Goldman or Cupcake Wars or even Food Network in general for my unbearable desire to get in way over my head (or go full-on kitsch) when it comes to baking. It’s always been who I am.

    As a kid, I’d turn bundts into volcanoes, with rivers of red buttercream “lava” for my brother’s birthday. I’d shape a sheet cake into a guitar for my sister, or a replica of the Daytona 500 for my Dad. Once, a failed checkerboard cake transformed into a pink and white castle for my cousin’s birthday, though my proudest moment, without a doubt, was the time I concocted a massive Grave Digger monster truck for my youngest brother, Carson, for his fourth birthday (complete with donut “tires” and Milano cookie tombstones, of course).

    A close second would be this anti-gravity cereal & milk cake:

    Photo: Nathan Davison
    Photo: Nathan Davison

    Real talk here: None of these cakes look remotely professional, and sometimes, they’re so homemade they’re borderline Cake Wrecks, but hey, being able to laugh at your misshapen masterpiece is half the fun. Often, the fails are even more memorable (and enjoyable) than the real thing.

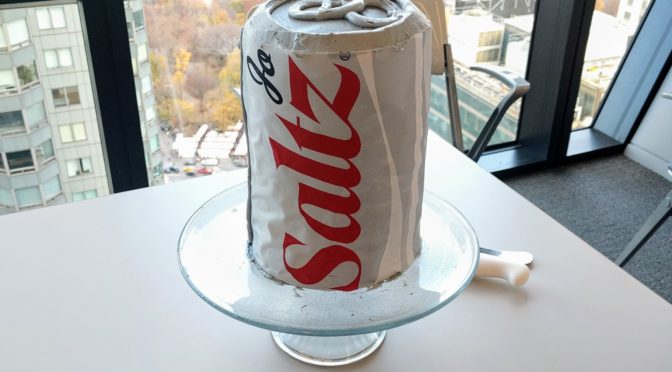
    That’s why, when it came to making my Diet Coke-obsessed boss’s birthday cake, I immediately knew I had to make a gigantic soda can, customized with her name on it, despite my total lack of artistic skills. I had a set of five, 6-inch cake pans, and I enlisted a coworker to Photoshop a design that looked like the Diet Coke can label, only using my boss’s name. I sent the label to a local bakery to have it printed on two sheets of edible frosting — which you can do at many bakeries, as well as most Walmart and Sam’s Club bakeries, for about $5-$15.

    (more…)

Optimized with PageSpeed Ninja