This post may contain affiliate links. Every link is hand-selected by our team, and it isn’t dependent on receiving a commission. You can view our full policy here.
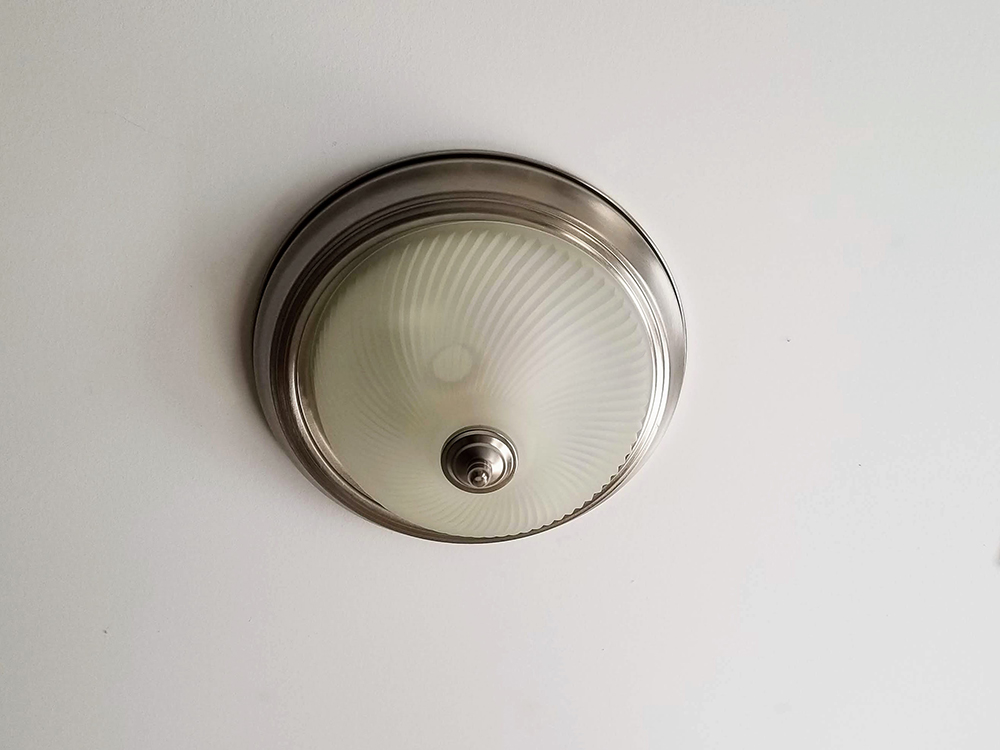
Once it’s first pointed out, you can’t unsee it: the “boob” light. Sure, they’re not officially called that, but these flush-mount lights with their domed glass covers—found in just about any apartment or quick-flip house these days—look a heck of a lot like a lone robot breast, just dangling from your ceiling.
When we bought our house, the original homeowners took just about every light fixture with them, leaving us with boobs, boobs everywhere. Great if we ran a strip club; not so great for a house. They’re fine, I guess. Just not particularly pretty to look at.

Our dining room, in particular, looked pretty bland with one there, and we thought it could use more of a statement light. How hard could it be? we asked ourselves. After watching a few YouTube videos, I quickly chickened out, letting Nate do all the heavy lifting here, but I got him to spill the beans on just how easy it was. (Note: If you do this yourself, you do so at your own risk. We’re not electricians or experts, and we don’t know your home or your electrical situation.)
1. Find the right fixture for you, using this trick:
Width of room + length of room (in ft) = diameter of light fixture (in inches)
2. Turn off the power.
We shut off everything.
3. Unscrew the existing boob light.
Disconnect all of the wires. There were three: a black wire, known as the “hot wire,” from what we read; a white wire, or the “neutral” wire; and a copper wire, which was the ground wire.

4. Install the new light.
Before we hung it, we measured the chain on the pendant light we were replacing it with. We removed a few of the links, so it was just the right height to dangle above the dining room table without obstructing anyone’s view.
We connected the three wires to the wires in the new light: black to black, white to white, and—in the ground wire’s case, green to copper. Then, I used a wire twisting cap to connect each one. Once the wires were connected, I sought Candace’s help to ensure the light was at the right height and screwed everything in.
5. We turned back on the power to test it.
Lo and behold, the lights were working!